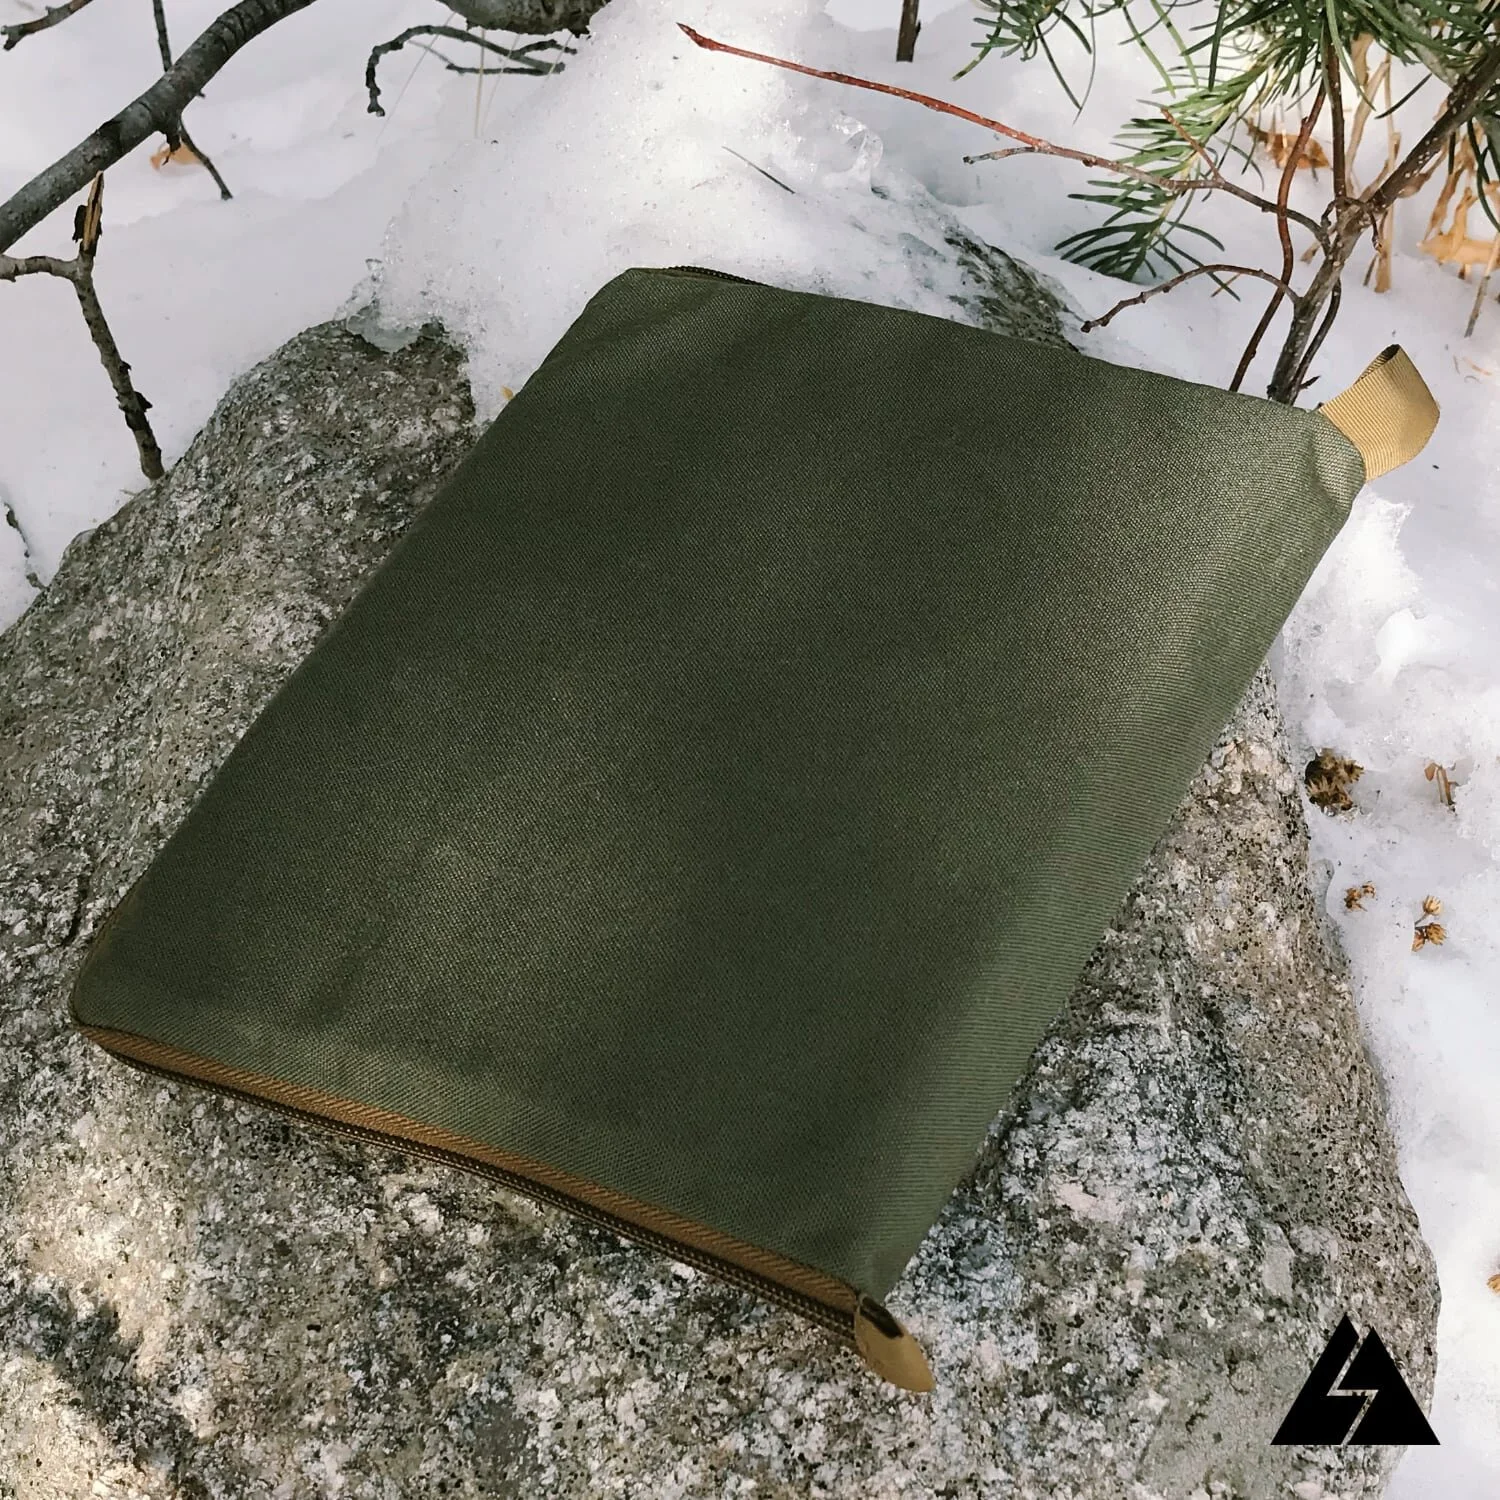
How to Make an Easy Child Size Backpacking Quilt
When my daughters were 2 and 5 we were planning a backpacking trip in the High Uintas. My wife would be carrying our 2 year old in the child carrier, which meant that I was going to be carrying the sleeping bags for all 4 of us. I looked at the child sized sleeping bags that were commercially available at the time, and most of them were heavier than the quilt my wife and I used. It didn’t make sense to carry something for 2 tiny girls that was heavier than what 2 adults needed, so I decided to make a couple of ultralight, child size backpacking quilts.
The construction method I used was pretty simple, and the quilts turned out great. I made them 36” x 55” so that I could make each from just 2 yards of fabric, but the size could be easily adjusted. Because they can be opened up into a flat rectangle, we use them all the time as blankets at outdoor events, as well as for camping and backpacking.
Step 1: Cut out the parts
You will need 2 pieces of lightweight breathable ripstop cut to the size you want the quilt. (in this case 55x36”). You will also need a piece of continuous filament insulation such as “Climashield Apex” cut to that same size. For the drawstring tube you’ll need a strip of ripstop 4” wide and about 1.5” shorter than the width of the other ripstop pieces.
Step 2: Prepare the drawstring tube
Sew a hem on the short sides of the drawstring tube. Fold the part in half lengthwise, right sides facing out to form a tube.
Step 3: Pin parts together
Stack parts starting with the insulation. Lay the first layer of ripstop on the insulation right side up. Place the drawstring tube centered on the end of the ripstop, and layer the last piece of ripstop over that right, side down. Make sure all the edges are aligned, and pin the perimeter.
Step 4: Sew perimeter
Sew around the perimeter of the quilt, sewing through all the layers. Leave a 3” section un-sewn. This is where the quilt is turned right side out.
Turn the quilt right side out and finish sewing the last 3” of the perimeter.
Step 5: Drawstring
Run a piece of drawstring material through the drawstring tube (I used paracord with the core removed). Form a loop in the drawstring on one end of the tube. The loop should be big enough for a cord lock to fit through, but not much bigger. Stitch the end of the tube closed securing the loop in place. Install a cord lock on the other end of the drawstring, and tie a knot to keep the cord lock from falling off. Trim excess drawstring.
Step 6: Foot box
The next step is to add some snaps for forming the foot box. Space the snaps as shown in the diagram. Be sure the male and female sides of the snaps face the correct side so that the snaps mate up with each other.
I used Kam snaps. If you don’t have access to a snap setter, you could sew on velcro pieces or sew on short lengths of ribbon to be used as ties. (As a side note, if you are unfamiliar with Kam snaps, check out our article about them. A Kam snap hand setter is relatively inexpensive, and is a great tool to have if you are into MYOG.)
To form the foot box simply snap all of the snaps, insert the cord lock through the loop and tighten the drawstring.
That’s all there is to it. An easy and functional quilt.


Learn how to make a pair of ultralight wind mittens. Perfect for keeping your hands warm while hiking with trekking poles in cool weather.