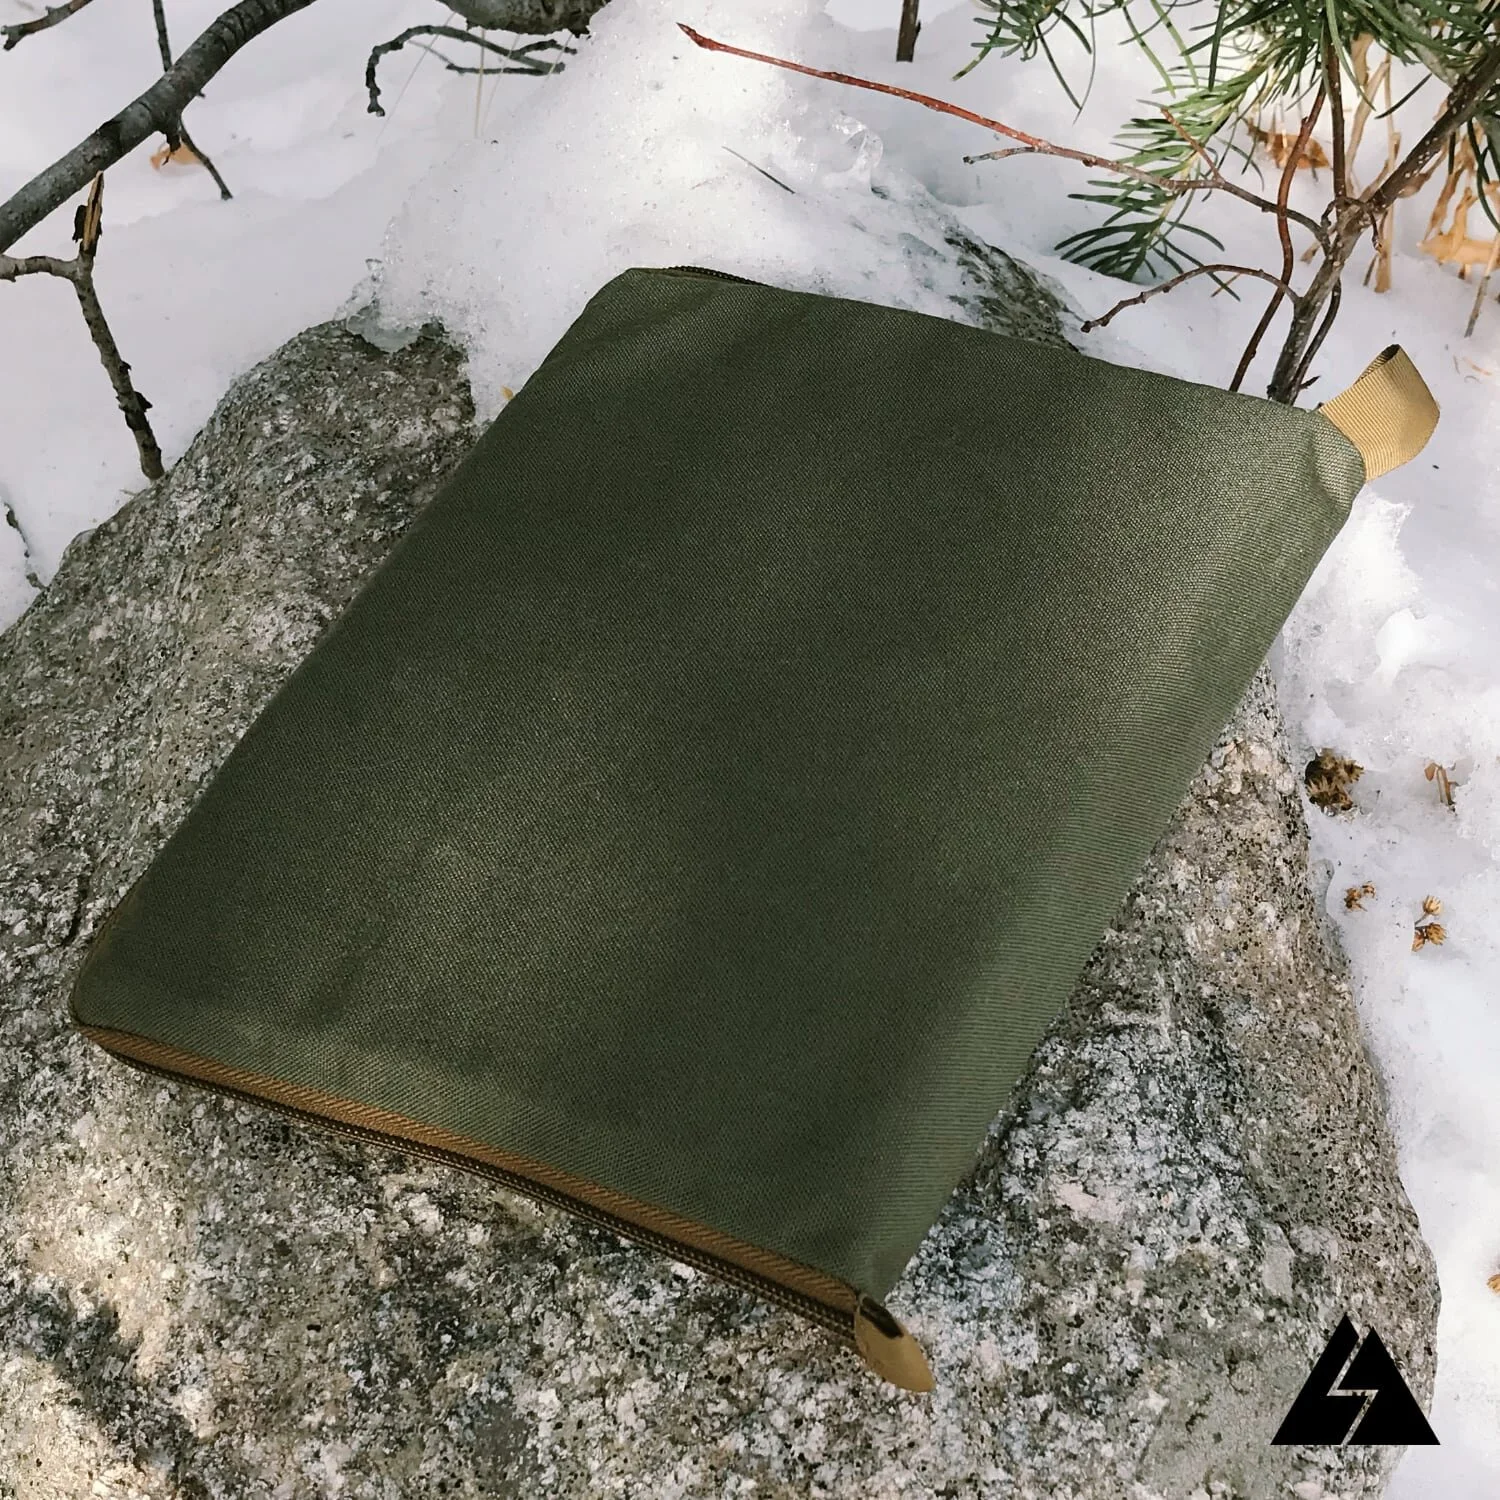
Make a Bivy Pad / Frame Sheet
Many alpine climbing packs have a removable foam frame sheet that can also be used as a bivy pad. The idea is that in the event of an unplanned bivouak, the pad could be removed from the pack and used as a small sleeping pad. The admittedly small pad wouldn’t provide much comfort, but could provide some insulation from the ground and would be better than nothing in an emergency situation. The pad could also come in handy as a makeshift splint, should you need to immobilize an arm or leg in an emergency. Generally the pad consists of a piece of thin foam folded in thirds so that it will fit into the frame sheet sleeve of the pack.
Pad shown folded and unfolded.
If you are making your own backpack, this is a feature that can easily be included. This article will show one method for accomplishing this.
Materials:
A thin EVA foam will work best for this project. I have had good results with 4mm EVA foam with a density of 85 kg/m³.
Tools:
A heat gun and a piece of 1” x 1/8” thick aluminum flat bar are used to form a groove in the foam. You’ll also need a utility knife for cutting the foam.
Step 1
Begin by determining what size the pad should be when it is folded. Do this by measuring the back panel of the pack and subtracting about ¼” or so from each dimension. It is a good idea to cut a test shape from some scrap cardboard and insert it into the pack to ensure that it fits. The folded foam will be thicker than a piece of cardboard so you may need to undersize the cardboard template a bit to compensate for this. (if you are using a Stitchback pattern it will include a template for the foam.)
Once you have determined what the folded size of the pad will be, you can determine the unfolded size by multiplying the width by 3.
In the case of backpacks that have a tapered back panel (such as the Stitchback AS35) use the width of the pad at the bottom to calculate the overall width as shown below, maintaining the same taper on the ends of the part.
Cut the foam to the dimensions you determined. Mark a line on the foam where you want it to fold as shown below.
At this point you could simply fold the pad at the lines and insert it in the pack, but the foam will fold more easily if you create a groove where you want it to bend.
The groove is molded into the foam using a heated piece of aluminum flat bar.
Molding the grooves:
Use a heat gun to heat up the aluminum flat bar. Use gloves to handle the aluminum and run the bar back and forth over the heat gun so that it heats up an area that is at least as long as the foam pad. Avoid getting the aluminum too hot. I’ve found that if I touch the heated portion of the aluminum and can feel the heat through my gloves it’s about right.
Heating the aluminum bar with a heat gun.
Once the aluminum is hot, quickly press the aluminum bar into the foam along the marked line. Press the bar hard, into the foam, and hold it in place for several seconds as the foam cools. To protect your hands, use something such as a small block of wood to press the hot aluminum into the wood. This process may need to be repeated several times to make the groove sufficiently deep.
Pressing the bar into the foam.
A jig can be helpful in keeping the flat bar aligned on the foam, but it is not necessary. A simple jig can be made with a piece of plywood and some wood blocks as shown below.
Repeat this process for the second fold line, but press the groove into the opposite side of the foam so that the foam can be folded in a Z as shown below.
Once both grooves are formed the pad can be folded and inserted into the frame sheet sleeve inside the pack
Tip: If your foam was shipped or stored rolled up, it will have the tendency to curl. Folding the bivy pad up and leaving it pressed flat underneath some boards or books for a few days will help eliminate the curl and further establish the fold lines.
Inserting the finished pad / frame sheet into the pack.
Related products that we recommend:
The links above are affiliate links. As an Amazon Associate Stitchback earns from qualifying purchases.


Learn how to make a pair of ultralight wind mittens. Perfect for keeping your hands warm while hiking with trekking poles in cool weather.