DIY Bamboo Backpacking Spoon
There is something satisfying about eating with a simple wooden spoon. Especially if it is one you have made yourself. Bamboo spoons are strong and light. The spoon shown in this article weighs only .5 ounces making it comparable with other long handled backpacking spoons. If you’d like to try your hand at making your own spoon read on. This article will go over a simple method for making a bamboo backpacking spoon.
Those familiar with bushcraft will know there is a tradition of carving spoons from a chunk of wood obtained while in the outdoors. Some of these hand carved spoons could be considered works of art, and require considerable skill to make. This article will go over a decidedly less traditional approach. In fact, you might call it a spoon hack, because that’s literally what it involves, hacking a large spoon into a smaller spoon. And while some bushcrafters might scoff at such an approach, it is still a fun project that produces a functional and one of a kind piece of gear that you can add to your MYOG gear list.

Start with a bamboo mixing spoon. These can be found at most big box stores. The spoon shown in this article only cost $1 at a dollar store. These cheap spoons are often cut out pretty sloppily and not sanded very well, but that’s okay, because all that can be fixed as the spoon is reshaped. If you can’t find a bamboo mixing spoon, these steps will work the same with any wooden mixing spoon. (The spoon with the blue cord in the photo above was made from a common wooden mixing spoon.)
Step 1
The first step is to mark out the rough shape of the spoon. Begin by determining how long you want the spoon to be. I wanted this spoon to be long enough to reach the bottom of a meal pouch, but maybe you’ll want yours short enough to fit inside your cook pot. Whatever you decide, mark the desired length on the handle with the pencil.
Next draw out the rough shape for the bowl of the spoon. You could use a spoon from your kitchen as a pattern. I used a Sea To Summit backpacking spoon as a reference because the size works well for me.
Step 2
The next step is to rough cut the spoon to size, where you have marked. Bamboo is fairly brittle, so a fine toothed saw works best. A coping saw or even a hack saw will work. Covering the area you are cutting with masking tape will help reduce chipping and splitting.
Step 3
After rough cutting the spoon to size, use a knife to begin carving the spoon closer to the desired shape. I used a Swiss Army knife for this, and it seemed to work fine, just make sure that it is sharp.
Once the spoon is close to the desired shape, you can switch to sandpaper or files to further refine the shape of the spoon. If you have access to a belt sander, or a Dremel with a sanding drum, that will speed up the process. If using power tools, just remember that once you’ve removed some bamboo you can’t put it back on, so go slow. I find it works best to get the outside shape of the spoon finished before I start carving out the bowl of the spoon.
Step 4
Carve out the bowl of the spoon. This is probably the trickiest spot to carve. There are special carving knives made for doing exactly this, but if you don’t have access to one, a small knife blade (like the small one on a Swiss Army knife) or a narrow chisel can work. In the end, I found it was easiest to shape the bowl using a sanding drum on a dremel tool.

Although not required, adding a loop of cord to your spoon will allow you to hang it to dry after use. You can also use reflective cord to make it easier to find in your pack in the dark. If you want to add a loop you’ll need to drill a hole through the handle. It’s best to drill the hole before you do the final sanding. Wrapping the area with masking tape before drilling will help avoid splitting.
Step 5
Once you have the spoon shaped just the way you want it, the next step is to do the final sanding. Start with 120 grit paper, sanding with the direction of the wood grain. Once all of the carving marks are gone, move up to 220 grit sandpaper, and then finish off with 320 grit. I find that folding a narrow strip of sandpaper around the outside of a small metal spoon works well as a sanding tool for sanding the inside of the bowl.
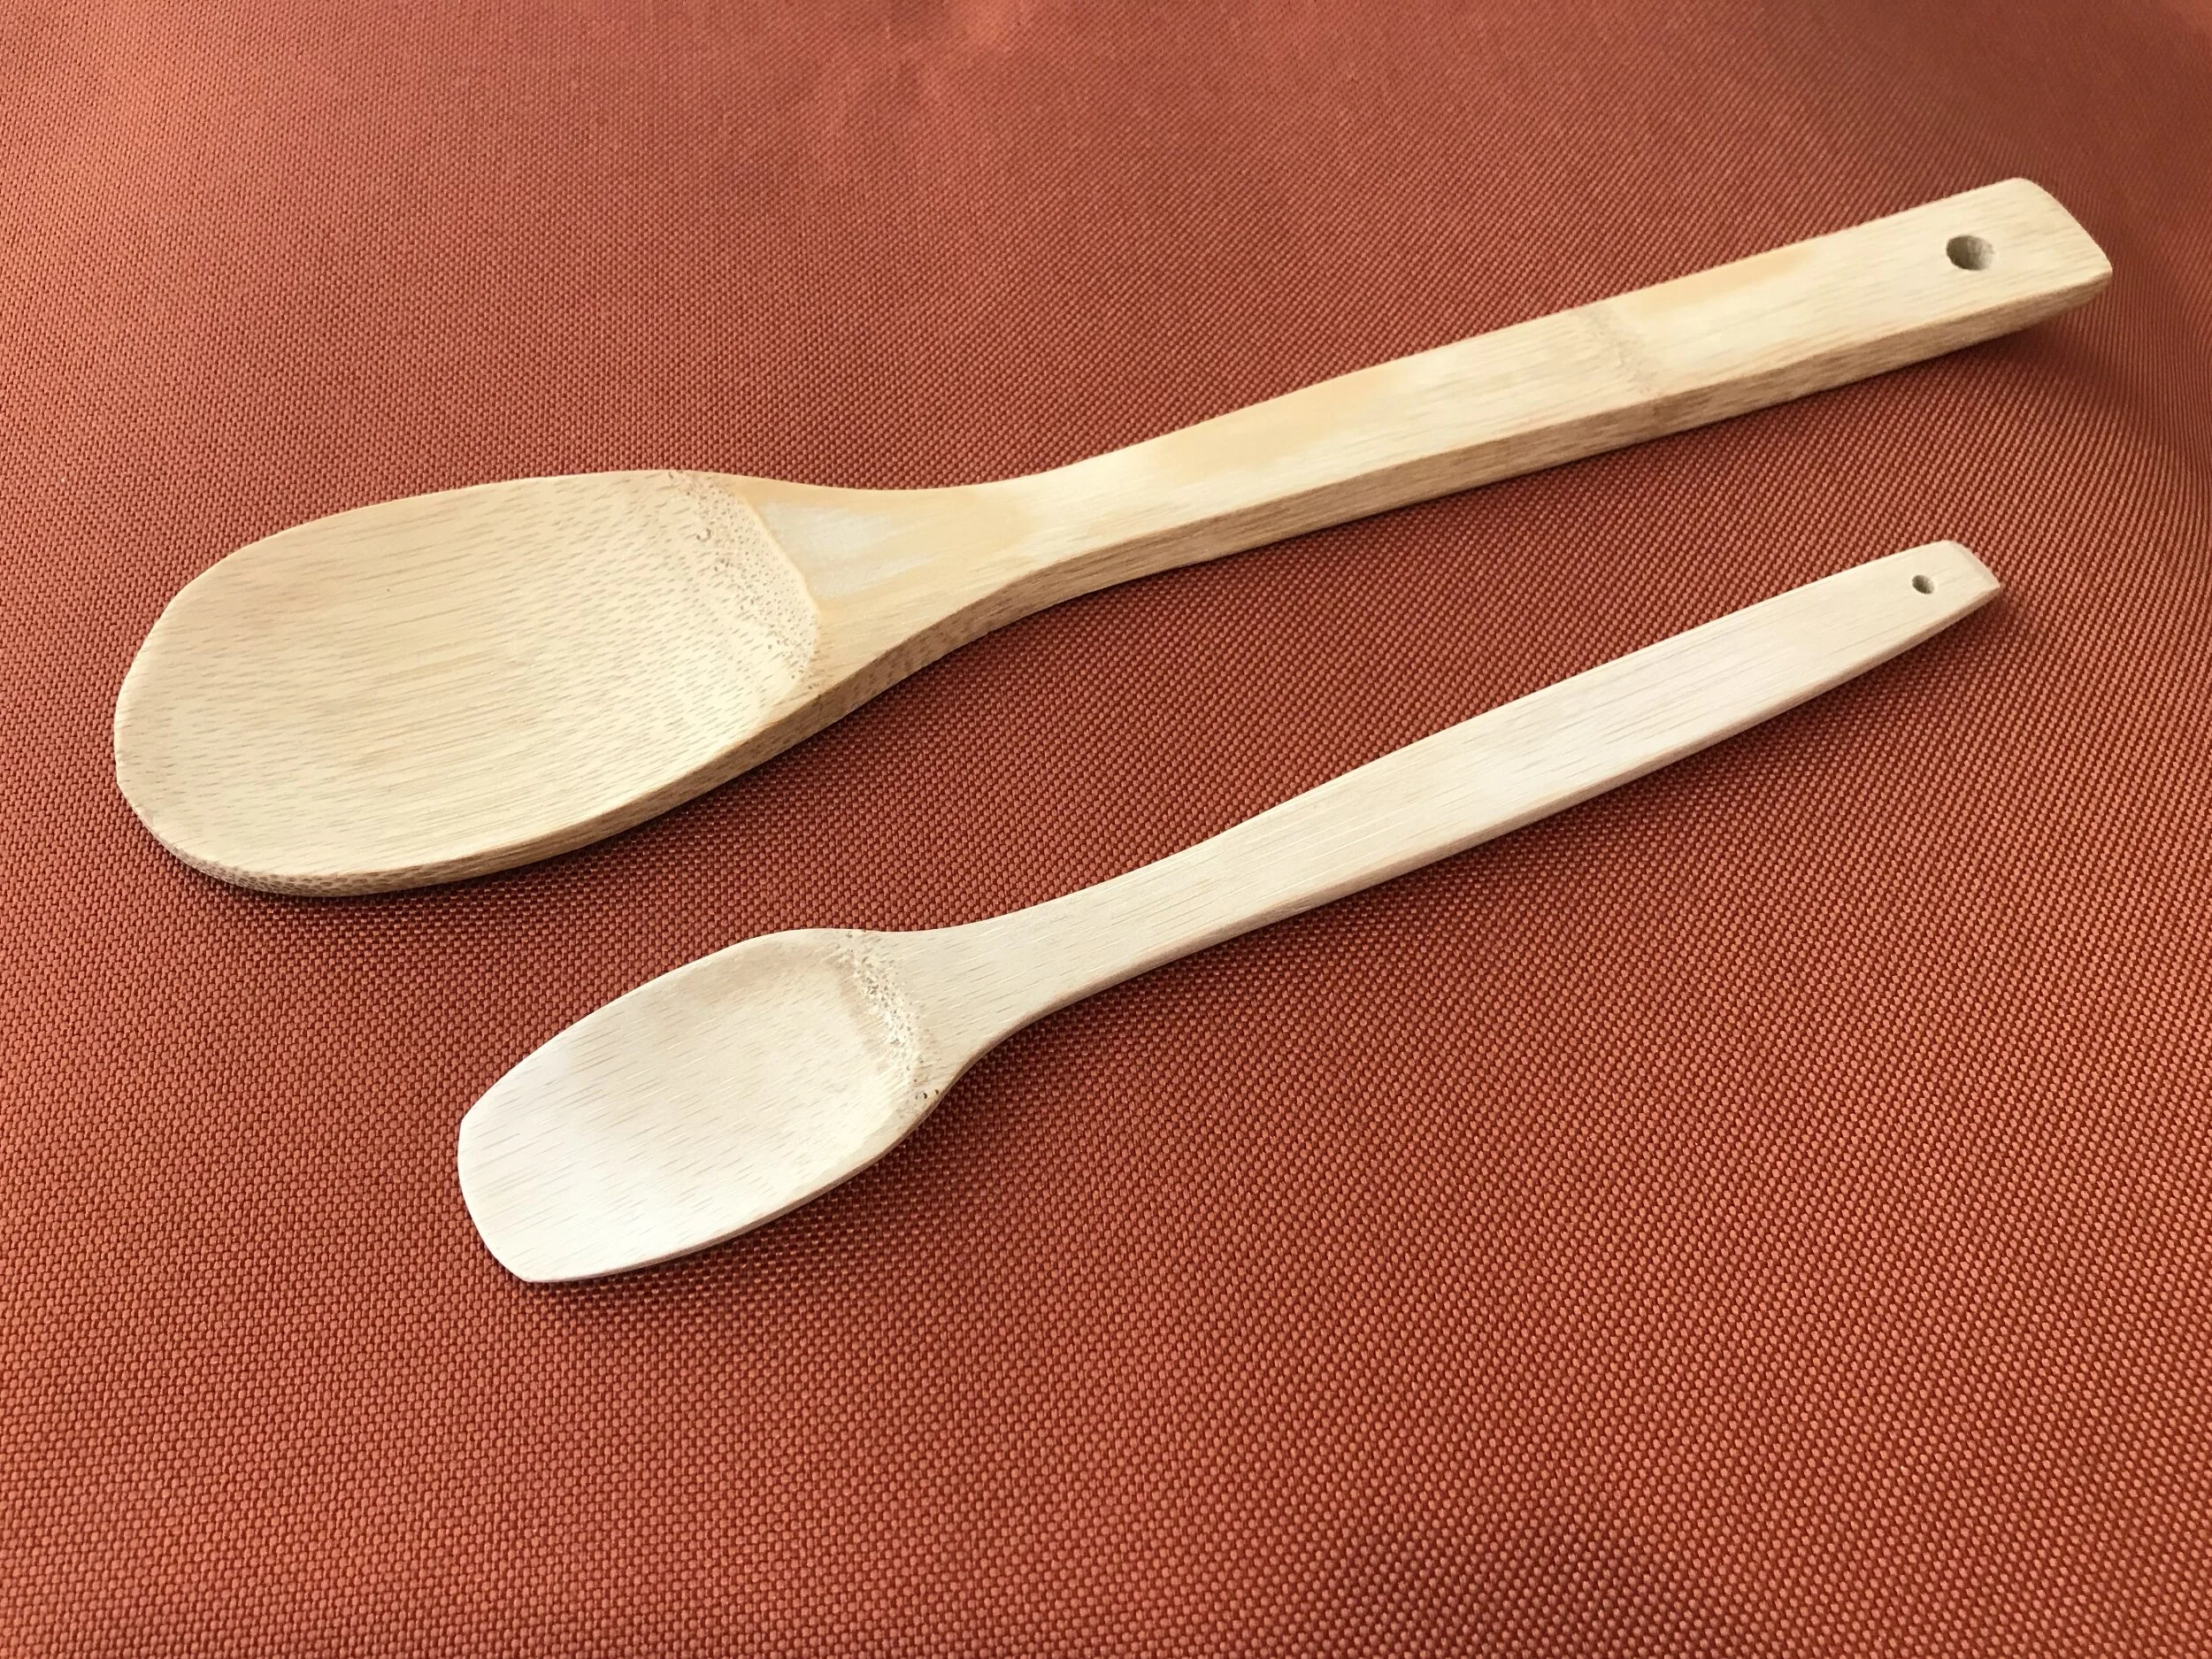
The final sanded spoon compared to the original.
Step 6
The last step is to finish the spoon. For this article I thought it would be fun to give the end of the handle a Shou Sugi Ban type finish. This step is completely optional, but it adds a lot of character to the finished spoon. To do this I used a propane torch of the type used for soldering copper pipe. The bamboo darkens up quite quickly, so the key is to keep the spoon moving in the flame so as not to overheat any one spot. Be careful, and avoid starting all your hard work on fire.

The spoon will need some type of wood finish to seal the pores in the bamboo and help protect it from moisture. When selecting a finish be sure to choose something that is food safe. There are commercially made finishes meant for butcher blocks or wooden kitchen utensils. Food grade mineral oil is also a common choice which is readily available, and is what I use. If you want to avoid petroleum products, cooking oils like olive or coconut could be used, but have the possibility of going rancid.

Applying the finish is easy, just apply the oil to the spoon and allow it to soak in. Once it has had a chance to soak in, use a clean rag to remove all the excess. I like to give the spoons plenty of time to soak in the oil, so I put them in a ziplock bag with the oil and let them sit overnight. After you have removed all the excess oil, allow the spoon dry. Once dry, tie on the cord loop and your spoon is ready for use!

Final Tip
Avoid washing your spoon in the dishwasher as the heat and detergent aren’t great for it. Also you’ll want to wipe it down with mineral oil or whichever finish you used every once in awhile to keep it in good shape.
Related products that we recommend:
The links above are affiliate links. As an Amazon Associate Stitchback earns from qualifying purchases.