Make a Plastic Frame Sheet with Aluminum Stay
This article will go over how to make a plastic frame sheet with an aluminum stay, which is a common type of internal frame used in backpacking packs. This type of internal frame is more rigid than the molded kydex frame that we go over in a previous article, making it a better choice for heavy loads.
The internal frame consists of a flat plastic sheet cut to fit in the back of the pack. The plastic has a webbing sleeve (or sleeves) sewn on to it which holds a piece of curved aluminum called a stay. The stay is bent to match the curve of the wearer’s back. When the stay is inserted into the sleeve on the plastic, the plastic bends to match the curve of the stay.
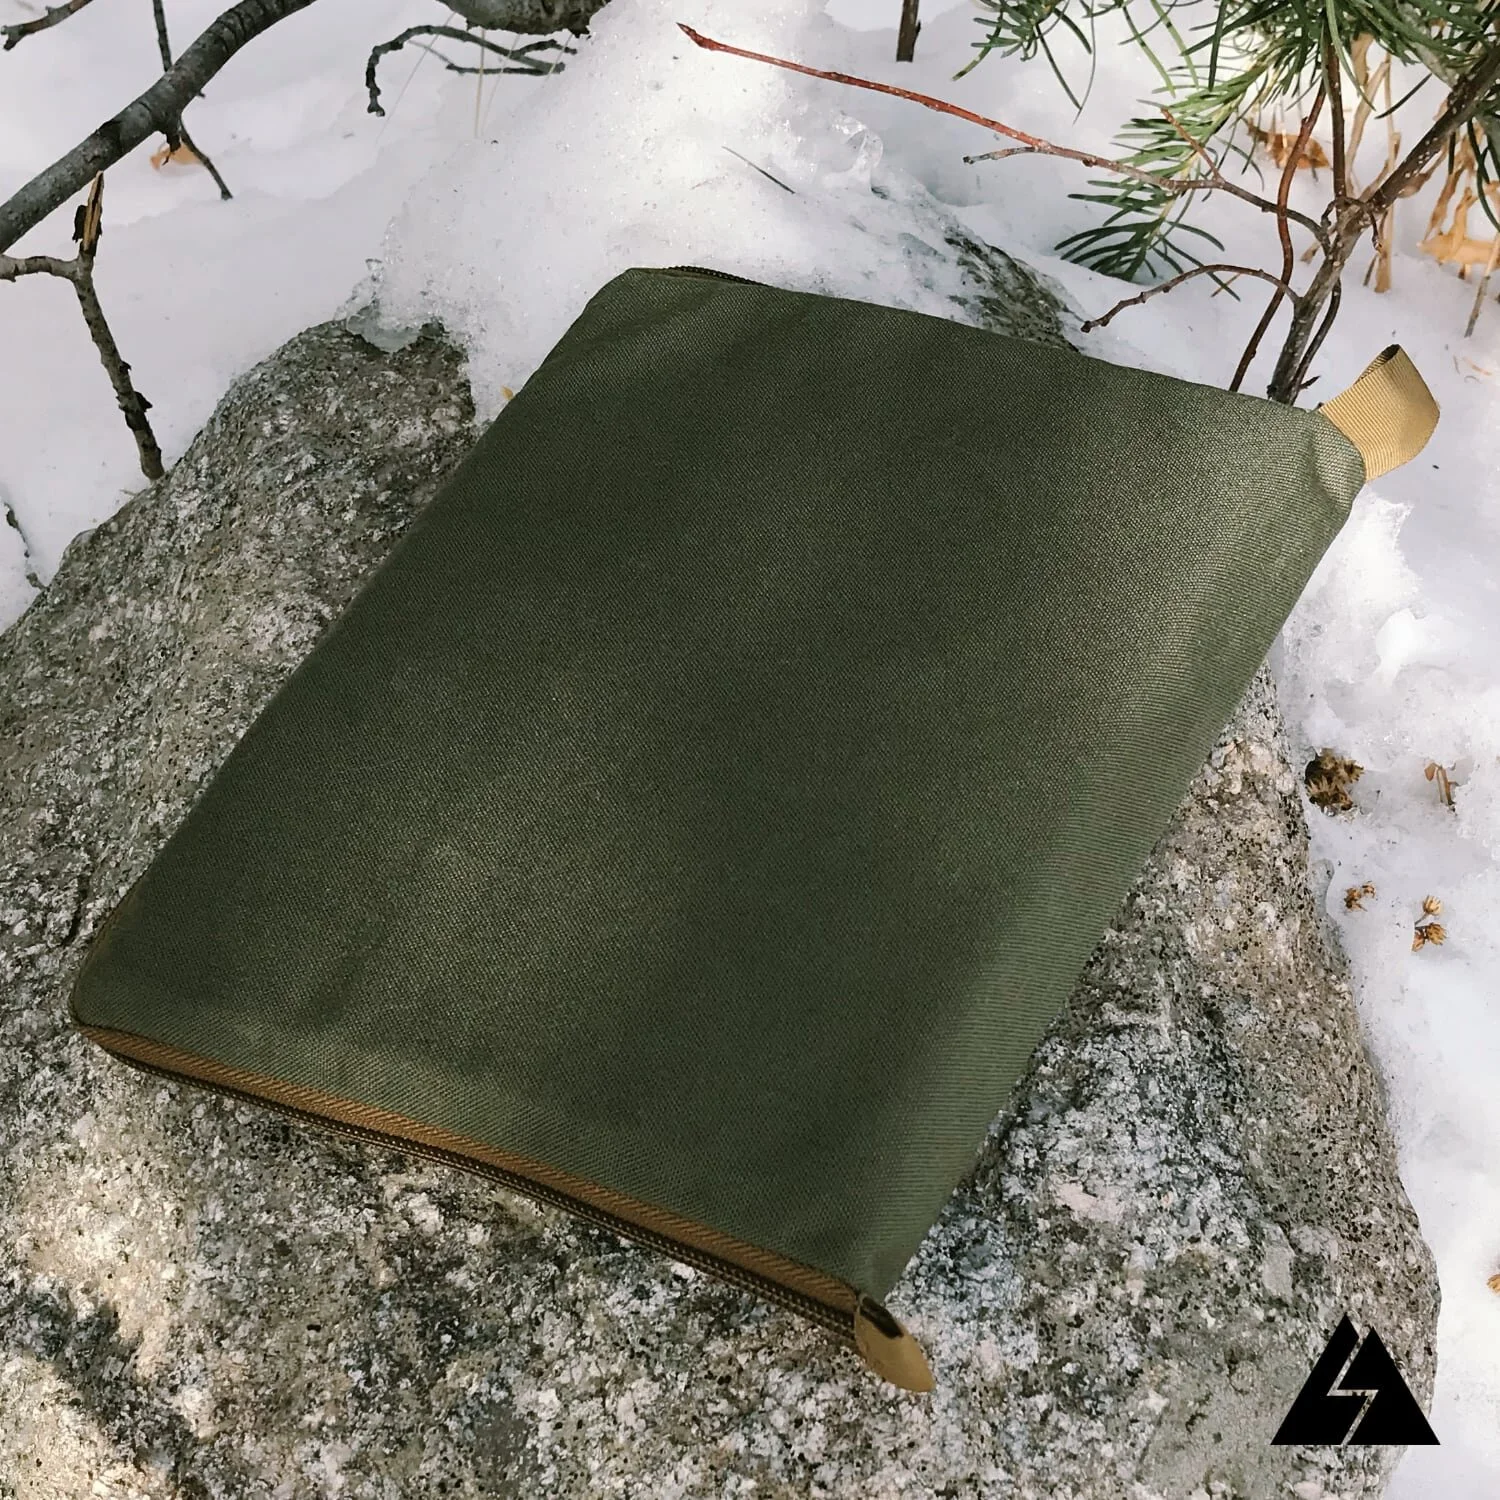
The frame can be made with a single stay running vertically through the center, or with 2 stays for even more rigidity (and thus more weight carrying capacity). I built the frame in the photo below for a trip I did in the Grand Canyon several years ago, where I knew I would be carrying a lot of extra water. The dual stays worked really well at supporting the additional weight.
There are several benefits to be gained by using a frame of this type with your backpack. First, the rigid aluminum stay does a good job transferring the weight of the pack. For this reason it is most effective when used with a pack that has a good hipbelt. Second, the frame sheet prevents the pack from barreling or bulging into your back when it is fully loaded. The frame sheet also prevents hard or oddly shaped items in the pack from poking you in the back.
The frame sheet will work best with packs that have some sort of sleeve in the back to accept it. Packs made from a Stitchback pattern will have such a sleeve. Many commercial packs have a sleeve for a foam pad or even a hydration sleeve that could be used. As a side note, if you are making your own pack with the intention of using this type of frame sheet, you may want to consider making the sleeve out of a durable fabric, as the plastic frame sheet will abrade the fabric more than a foam back pad would.
You may be wondering if this is something that can really be made at home. I was also dubious at first. My main concern was with sewing the webbing to the plastic. It turns out that the type of plastic used (HDPE) is pretty soft and also slippery, allowing the sewing needle to push through without too much issue. I’ve since made frame sheets with 2 different home type sewing machines, and both were able to handle sewing the plastic. (I do the sewing by turning the handwheel by hand, because I feel it is gentler on the sewing machine.)
Of course I can’t guarantee that it will work with every sewing machine, and you should use caution and do a test to verify that you are not damaging your machine!
In my experimentation I was also able to push a hand sewing needle through the plastic with a thimble so it is conceivable that the webbing could be sewn on by hand, although it would take a lot of time and effort.
Materials needed
Frame sheet - 1/16” thick HDPE (high-density polyethylene) sheet.
This can be found at plastic suppliers online. McMaster Carr sells it in sizes suited to frame sheets and at reasonable prices.
Stay - Aluminum flat bar
The size used depends on how rigid you want the stay to be. 3/4”x1/8” and 1”x1/8” are good options. Aluminum flat bar is available in different alloys. I’ve had good results with 6061-T6511 which is what is used by some pack manufacturers. (This can also be found at McMaster Carr.) I’ve also used the flat bar that is available from home centers, but it is often difficult to know which alloy you are getting from those places.
Stay Sleeve - 1-½” nylon webbing
A flexible webbing will work better than a very stiff webbing
Thread
A thick, strong thread will work best, as the thread can abrade against the plastic frame sheet with use.
Instructions: the plastic frame sheet
Step 1
Determine what size and shape the plastic frame sheet should be. You can get a good starting point by measuring the back panel of the backpack and subtracting about ¼” from each direction. It is a good idea to draw out the shape you want for the frame sheet and then cut it out of some scrap cardboard so that you can test the fit in the pack.
If you are making a frame sheet for the Stitchback ZT, TH or MP packs, the pattern will include a template for the frame sheet.
The frame sheet should fit snugly from top to bottom in the pack. I prefer to have the width of the frame sheet taper towards the bottom of the backpack, so that it focuses the weight of the pack to the lumbar area where the hipbelt attaches.
Step 2
Trace the shape of the frame sheet from your cardboard pattern to the plastic. It can be helpful to tape the pattern in place.
(If you are using a Stitchback pattern, the template for the frame sheet with be divided in half. In this case draw a centerline on the plastic and trace the template on either side of the line as shown in the photos below.)
If you plan to drill holes in the frame sheet to reduce weight, mark the centers of the holes with a center punch.
Step 3
Cut out the frame sheet. A sharp utility knife works well for this. Use sand paper and a sanding block to round over the edges and remove any sharp corners or burrs.
You can reduce the weight of the frame sheet a bit by cutting some holes in it. A hole saw works well for this. Avoid drilling holes where the stay sleeve will be attached. Use sandpaper to remove any burrs from the edges of the holes.
Once the frame sheet is cut out, it is a good idea to verify that it fits in the pack before you sew on the stay sleeve.
Step 4
Use masking tape to secure the webbing to the plastic. Use a straight edge to help you get the webbing on straight. Tape doesn’t stick real well to the HDPE plastic so you may need to use a lot of it.
Step 5
Stitch the webbing in place. Use a heavy duty needle, and go slow. I prefer to stitch the entire length of the webbing by turning the handwheel on the sewing machine. It takes longer, but I can ease the needle through the plastic and it seems to be gentler on the sewing machine that way.
Stitch across the webbing at the bottom of the frame sheet. I like to do 2 rows of stitching at the bottom and triple stitch each row as shown in the photo below. Sew each pass through the same holes in the plastic, as making too many holes right next to each other will weaken the plastic.
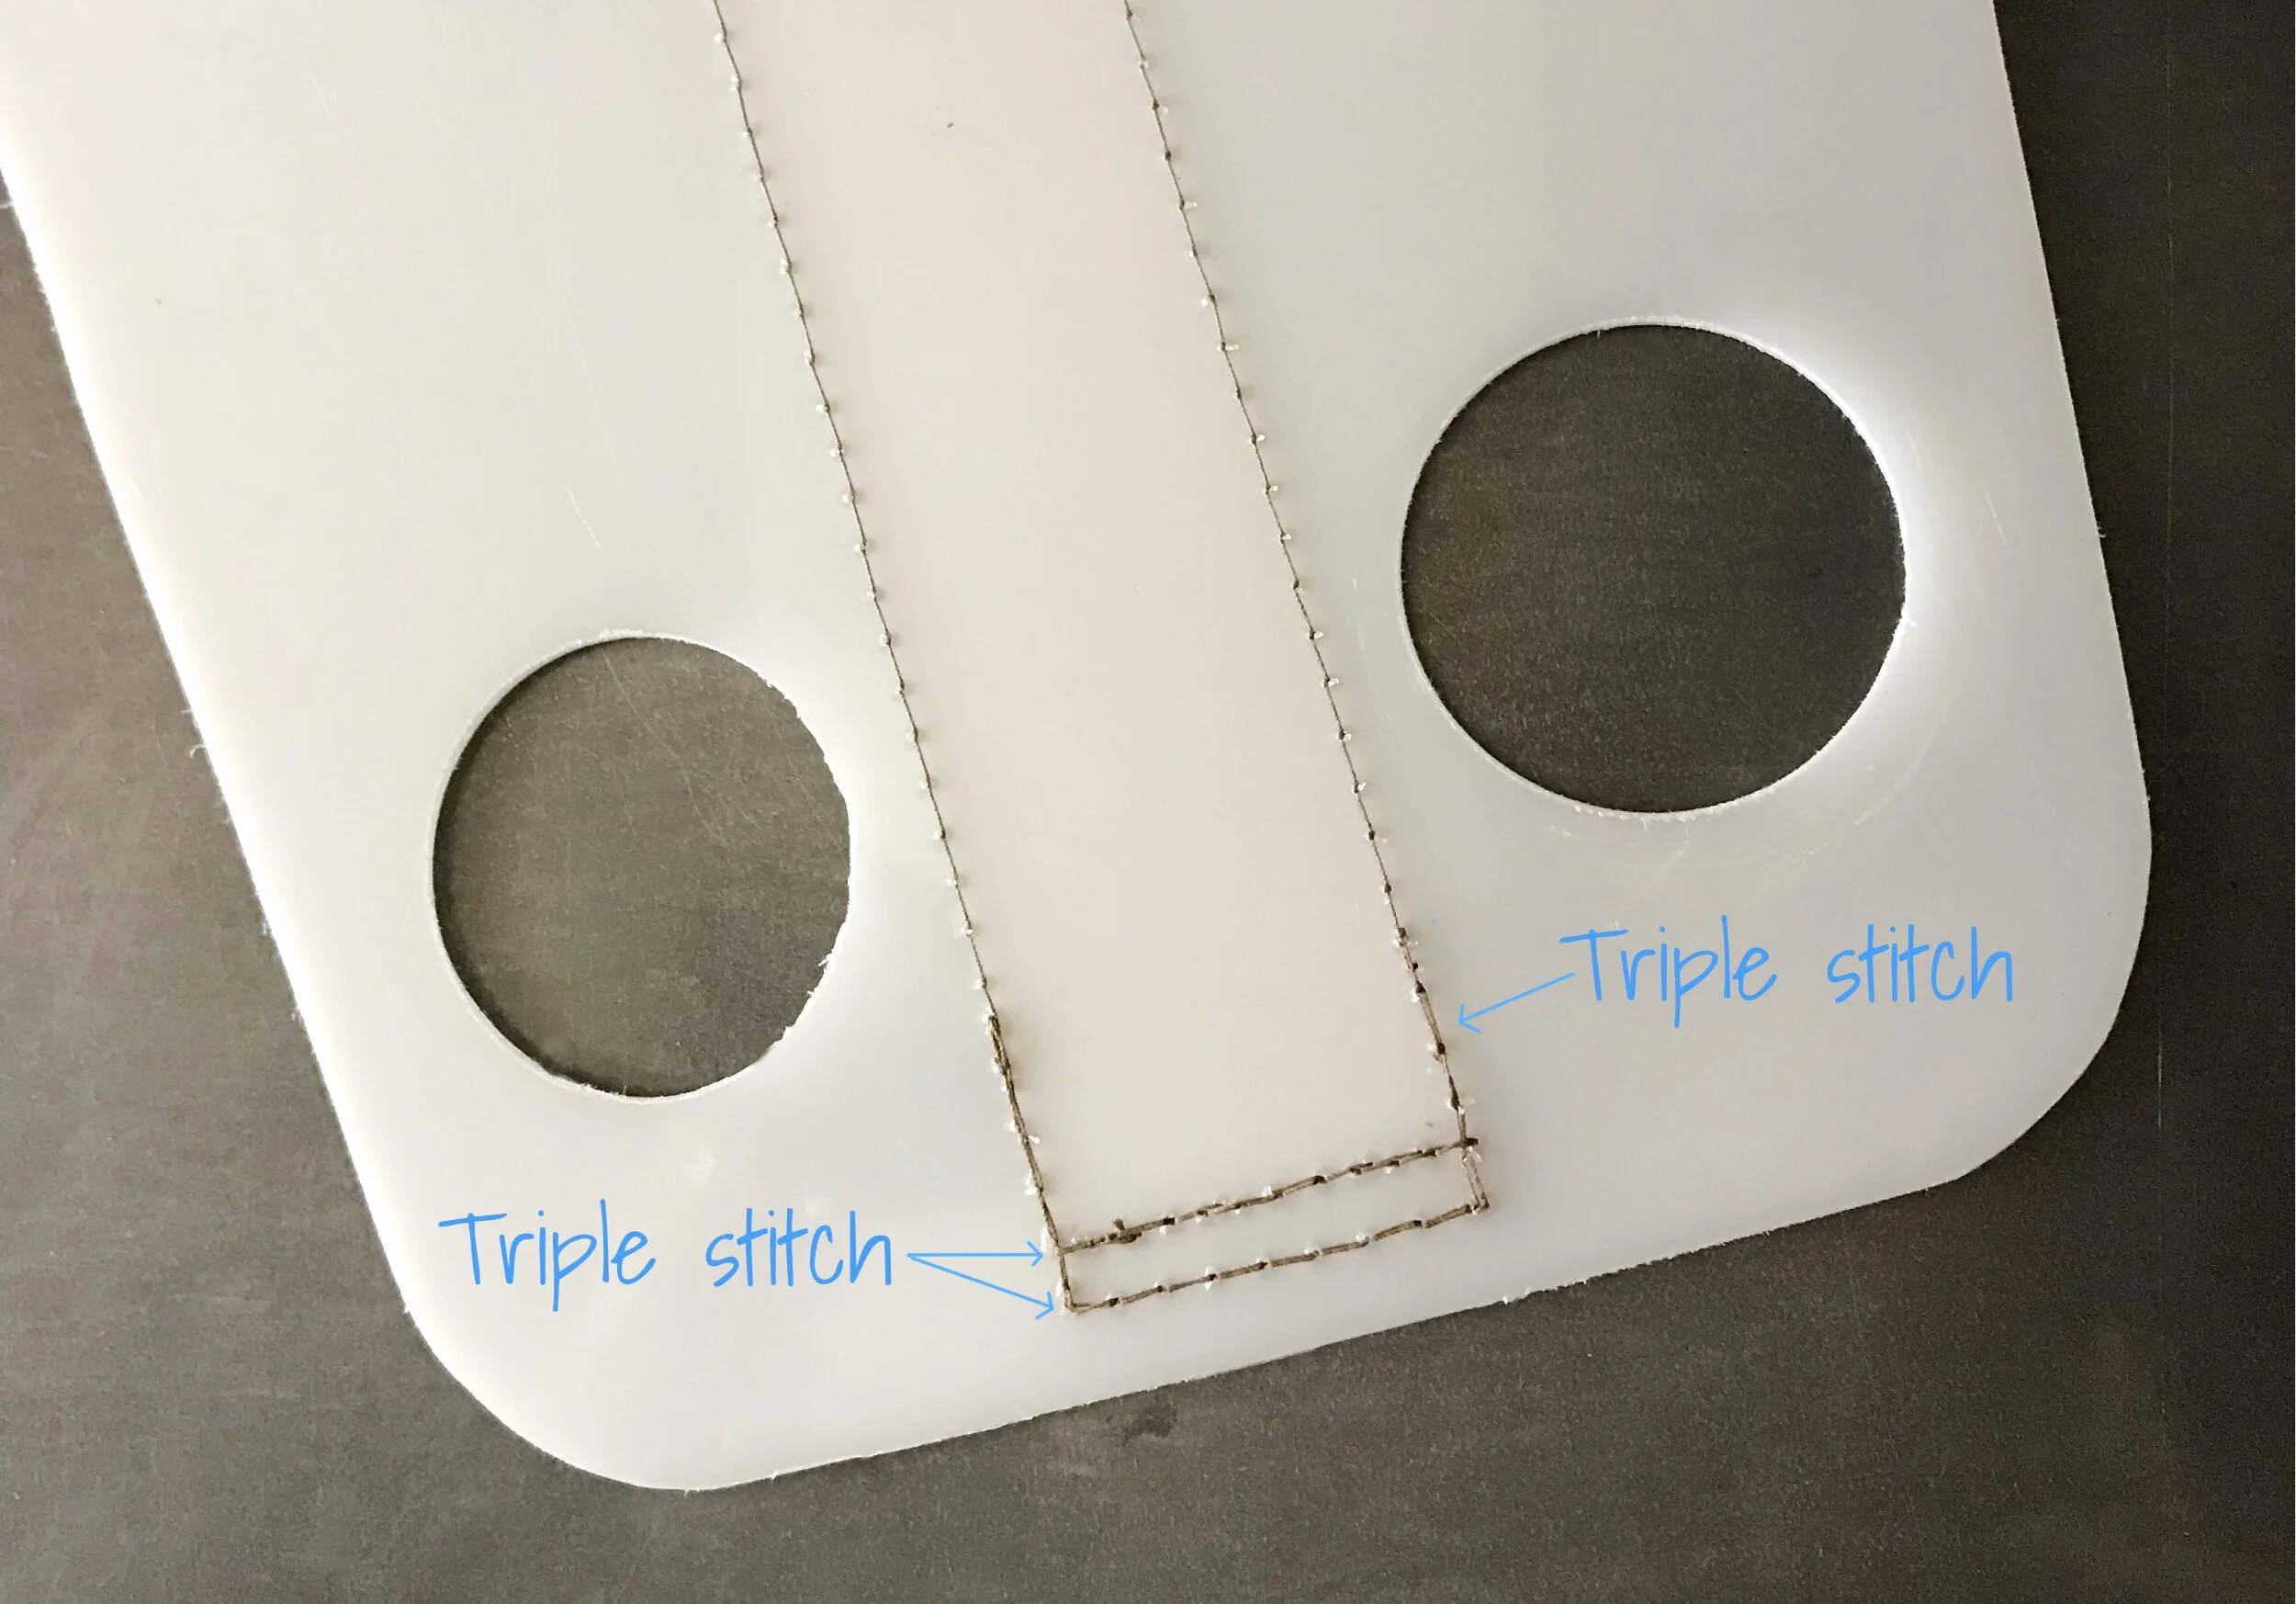
Triple stitch the top edges of the webbing as shown in the photo below. Leave the top edge open so the stay can be inserted.

A velcro flap could be added at the top of the webbing to keep the aluminum stay in place, but I’ve never really had issues with the stay working its way out of the sleeve.
Instructions: the Aluminum Stay
Step 1
Cut the aluminum flat bar to length, about ½” shorter than the sleeve on the frame sheet. Use a file and sandpaper to round the corners of the stay.
Step 2
Bend the stay to fit the curve of your back. You could do this in a vise or over the edge of a work table. For this article I made a simple jig by bolting 2 coupling nuts to a board, as shown in the photo below. I slid the stay between the two coupling nuts and was able to bend the bar by pulling it against the nuts. The jig worked okay, but I ended up having to use a clamp to keep the nuts from spreading open while bending.
In this case I used the stay from another backpack as a pattern. I removed it from the pack and traced it onto a piece of paper. I was then able to hold the new stay up to the paper to check the bends as I went. If you don’t have an existing stay to use as a pattern, you’ll have to check the curve against your back. It is useful to have a helper for this so that they can hold it against your back while you are standing up straight. It will take some trial and error to slowly work the stay into shape.
Additional notes on bending the stay
I find it is easier to start with big curves and slowly tighten them to shape, rather than bend the stay too tight and have to try and relax the curve.
Be sure to keep track of which side of the stay goes against your back and which end is the bottom.
On a daypack where the shoulder straps attach at the top of the pack, the stay should more or less follow the shape of the back for the entire length. On a taller pack, (especially one with load lifters) the stay should start to curve away from the back at about the point where the shoulder straps attach. You can see this illustrated in the photo below. Both of these stays are from Kelty brand packs. The short one is from a daypack and the long one is from a large backpacking pack. Note how the shape is similar up to the height of the shoulder straps.
Step 3
Once the stay is bent to shape it is ready to be installed in the frame sheet. Make sure the stay is oriented correctly and insert it into the top of the webbing sleeve. It will take a bit of effort to push the stay to the bottom of the sleeve as the plastic frame sheet bends to conform to the stay.
Step 4
Slide the completed frame sheet into the sleeve in the backpack. Be sure it is oriented correctly with the correct side against the back of the pack.
Add some weight to the pack and put it on. Adjust the hipbelt and shoulder straps to test how it fits. The pack should feel quite natural on your back. If you feel the frame sheet pressing into your back, the shape of the stay probably needs to be adjusted. If you find that is the case, the stay can generally be reshaped without removing it from the frame sheet, by bending it over your knee or the edge of table.
Final note:
The hard edges of the plastic frame sheet can become an abrasion point in the backpack. There are a couple of things you can to to alleviate this. One is to sew grosgrain around the perimeter of the frame sheet. Another option is to use the plastic frame sheet in conjunction with a foam back panel.
By making the frame sheet a bit smaller than the foam, and then attaching the frame sheet to the foam, (with contact adhesive or stitching) as shown in the drawing below, the foam can help cushion the edges of the pack. The foam also provides some additional comfort for the pack.
Related products that we recommend:
The links above are affiliate links. As an Amazon Associate Stitchback earns from qualifying purchases.