Make a Freezer Bag Cooking Pouch
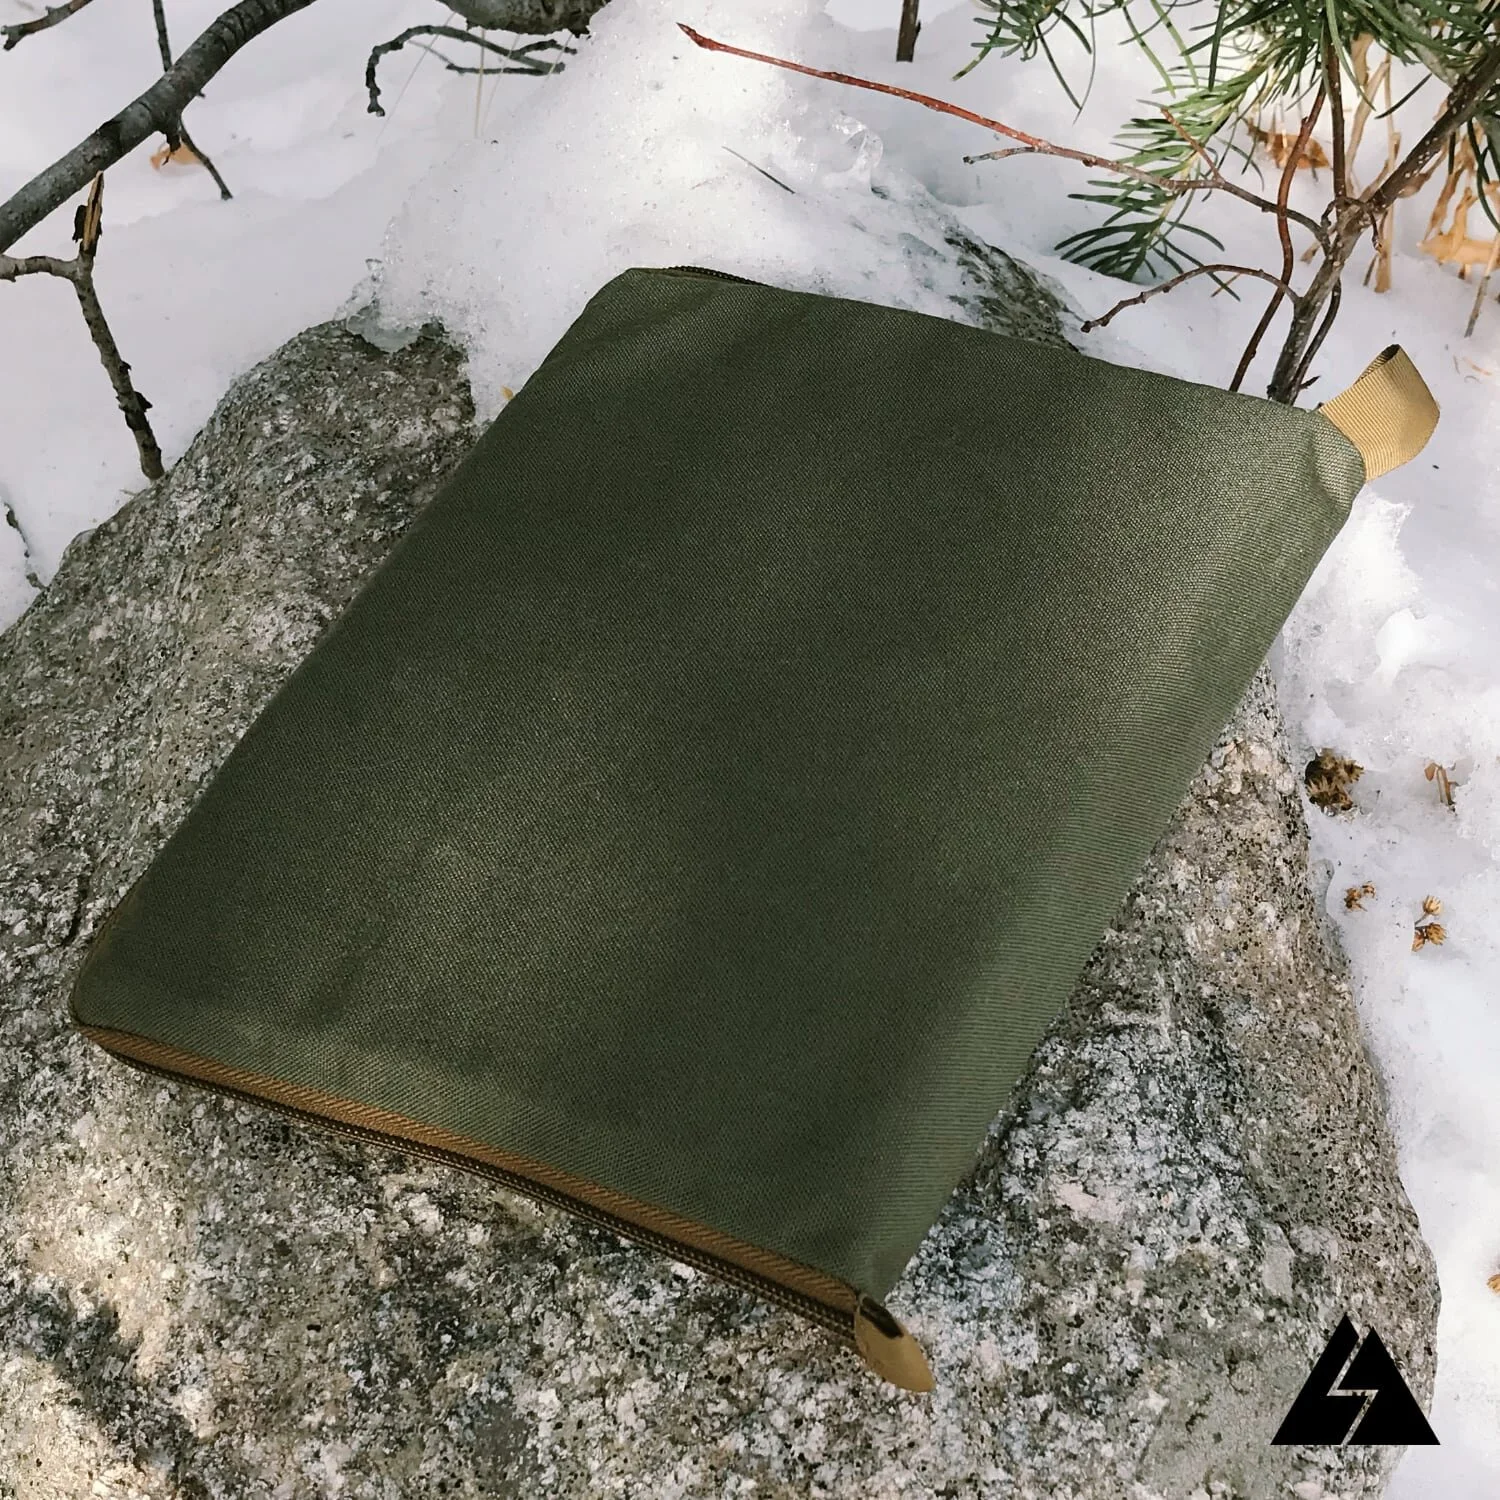
My family and I recently returned from a backpacking trip in the Bears Ears National Monument. Before the trip we had decided to do our cooking with the freezer bag method, in an effort to eliminate the need for carrying dishes. In preparation for the trip I made up some freezer bag heating pouches. The pouches insulate the freezer bags to help the contents rehydrate. They also help the contents stay warm longer while eating.
The pouch is designed specifically for quart size ziplock freezer bags, but could be easily adapted for other bags. The pouch has a gusset at the bottom so that it can stand up, as well as a hand loop on the back side to facilitate holding it while eating. The flap can be tucked to the inside of the pouch so that it’s out of the way while eating. There is also a loop for holding your spoon after you’ve stirred the bag and are waiting for the contents to cook. The pouch is insulated with a piece of windshield shade. (I used the type that is a thin layer of foam with a mylar film on one side, not the bubble wrap type that is often used. I found the foam version was softer and easier to sew.)
If you plan to make this pouch, you’ll want to download the free pattern by clicking here.
Print the pattern at 100% and use the scale on the first page to verify that it printed to the correct size.
Step 1
Prepare the pattern. The pattern is in three pieces. Cut them out and tape them together where noted on the pattern. When done it should look like the drawing below.
Step 2
Cut out the fabric. Pin the pattern to the fabric or hold it in place with pattern weights, and cut out the fabric. Be sure to cut the notches that are shown on the sides of the pattern.
Transfer the markings from the pattern to the fabric. The markings that should be transferred are shown in red on the pattern.
Step 3
Cut out the foam insulation. The insulation that I used came from a car windshield shade. It is a thin foam with a mylar film on one side. I have found similar material in insulated grocery bags.
The same pattern is used for cutting out the insulation as the fabric, but the square end of the pattern needs to be folded under, where noted on the pattern. This will make the insulation 1” shorter than the fabric.
Step 4
Pin (or clip) the insulation to the fabric. The foam side of the insulation should be against the wrong side of the fabric. There will be 1” of fabric overhanging on the square end of the pouch. Fold the fabric over the insulation forming a 1/2” double fold hem and stitch the hem in place.
Step 5
Take the loop side of a 5” long piece of ⅝” velcro and stitch it where marked on the fabric, as shown below.
The hook side of the velcro will be stitched to the mylar side of the pouch at the tapered end. Measure ½” in from the edge and center the velcro from side to side. Stitch velcro in place as shown below.
Step 6
Take a 9-3/4” long piece of 1” grosgrain and pin it to the fabric side of the pouch where marked on the fabric. Stitch the grosgrain to the pouch with box x stitches where indicated and straight stitches where indicated as shown below.
Step 7
Fold the pouch, fabric sides together, at the center notches. Then fold the ends back at the second notches so that the mylar sides are together. This will form a gusset in the bottom of the pouch as shown below.
Stitch the sides of the pouch ¼” from edge securing the gusset in place as shown below.
Step 8
Take a 25” long piece of 1” grosgrain and fold it in half lengthwise. It can be helpful to use a clothes iron to press the fold into the grosgrain (be sure to use the correct heat setting). Starting at one of the bottom corners of the pouch, pin the grosgrain around the edge of the pouch continuing up around the flap of the pouch and down to the other bottom corner.
Stitch the grosgrain in place.
Trim the grosgrain flush with the ends of the pouch and carefully seal the edges of the grosgrain with a flame. Be careful not to melt the fabric! Stitch the ends of the grosgrain closed as shown below.
That’s it! You’re ready for some freezer bag cooking.
Related products that we recommend:
The links above are affiliate links. As an Amazon Associate Stitchback earns from qualifying purchases.